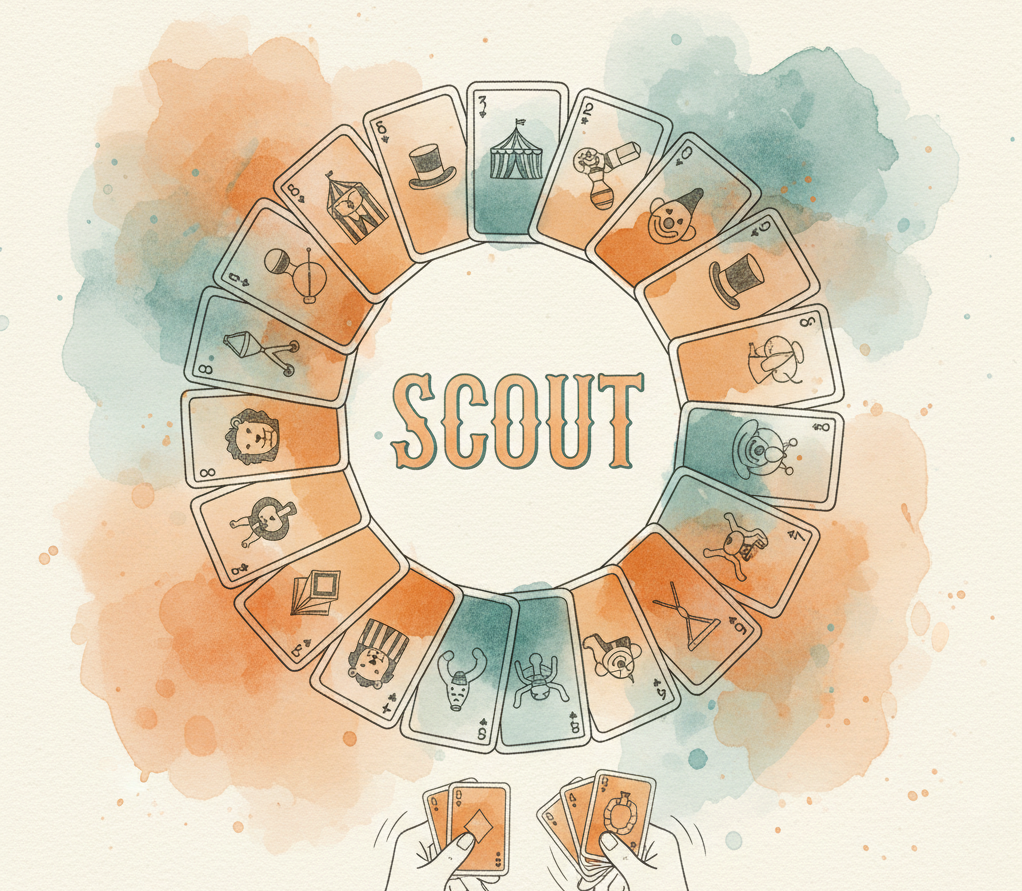
Scout Strategy: How to Read Your Hand and Outplay the Table
By Dylan Wright • December 24, 2025
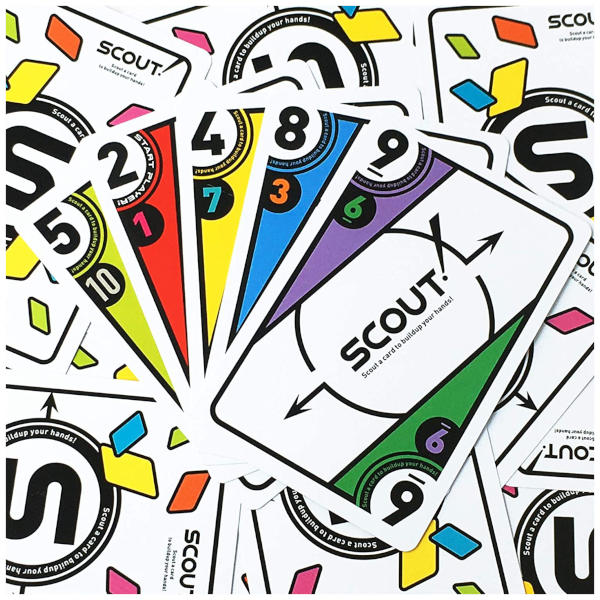
Scout looks simple from the outside. Take cards, play sets, finish your hand. But every experienced Scout player knows that the game’s fixed-hand constraint creates a puzzle that demands real skill: how do you get the most out of the cards you were dealt, in the order you received them, against an opponent who is doing the same thing?
This guide digs into the strategic depth underneath Scout’s accessible surface.
The Pre-Round Read: Your Most Important Moment
Before the first card is played, you have a brief window to orient your entire round strategy. Use it.
Scan for your best runs. Look for sequences of consecutive numbers in the same color within your hand. A run of four or five is a powerful play that will be hard to beat. Note where it sits in your hand — beginning, middle, or end.
Scan for sets. Look for the same number appearing multiple times. Three of the same number is a strong set. Note any doubles too — they’re playable as small sets.
Identify dead zones. Parts of your hand that have neither useful runs nor useful sets are “dead zones” — cards you’ll likely need to shed or collect through scouting. Knowing where your dead zones are lets you plan around them.
Decide your hand orientation. Remember, you can flip your entire hand before the round starts. After identifying your best plays, ask: does flipping give me a better configuration? The flip doesn’t rearrange cards — it reverses their order and flips their number orientation. Sometimes flipping turns a dead zone at the end into a playable set at the beginning.
Sequencing: Which Plays to Make First
Most players know their best plays. Fewer know when to make them.
Don’t lead with your biggest play. If you open with a run of five, you might clear the current challenge — but you’ve used your strongest play on turn one, before your hand has been depleted. Your opponent can now play anything that beats your five-card challenge, and you have fewer cards to respond with.
Build toward your biggest play. Think about what plays you can make that leave your hand in the best position for your strongest play to land at the right moment. A run of three followed by a run of five is more effective than a run of five immediately if the three-card play sets up the larger play without costing you useful cards.
Small plays burn your opponent. Sometimes playing a pair early — a small, hard-to-beat set of two matching numbers — forces your opponent to waste a strong play or take a penalty. This tactic is especially effective when you know your opponent’s hand is thin.
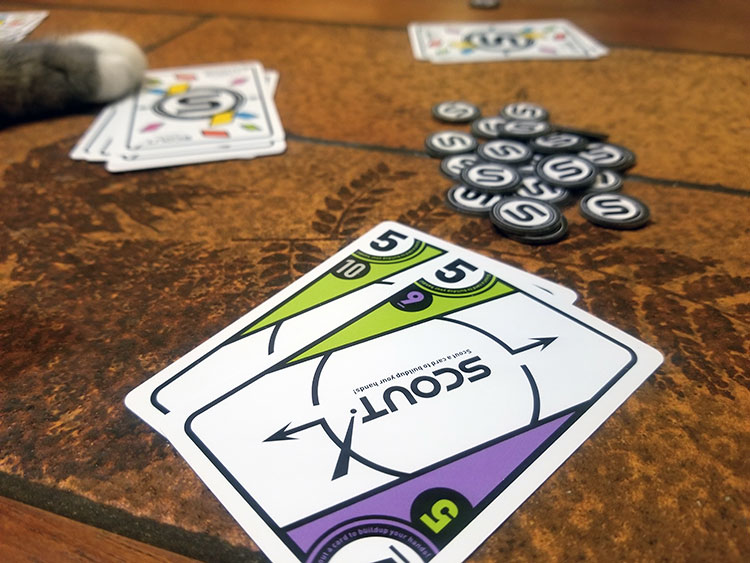
Scouting: The Math Behind the Decision
Every Scout action involves a trade: you get a card from the challenge, but you don’t advance the round and you don’t collect from your play. Here’s how to think about whether scouting is worth it:
What do you gain? The card you’d scout. How well does it fit into your hand? Does it extend a run? Complete a set? Or is it just a random addition that doesn’t help any specific sequence?
What does the challenge show you? If the current challenge is a run of five, scouting one card from it still leaves a run of four as the new challenge — which you then need to beat to play. Sometimes scouting from a large challenge just creates a new large challenge.
What’s your alternative? If you have a play that beats the current challenge, compare: is scouting this one card more valuable than collecting the full challenge with a successful play?
The math usually favors playing over scouting if you have a valid play. Scout when you genuinely have no play available, or when the specific card available is exceptional for your hand.
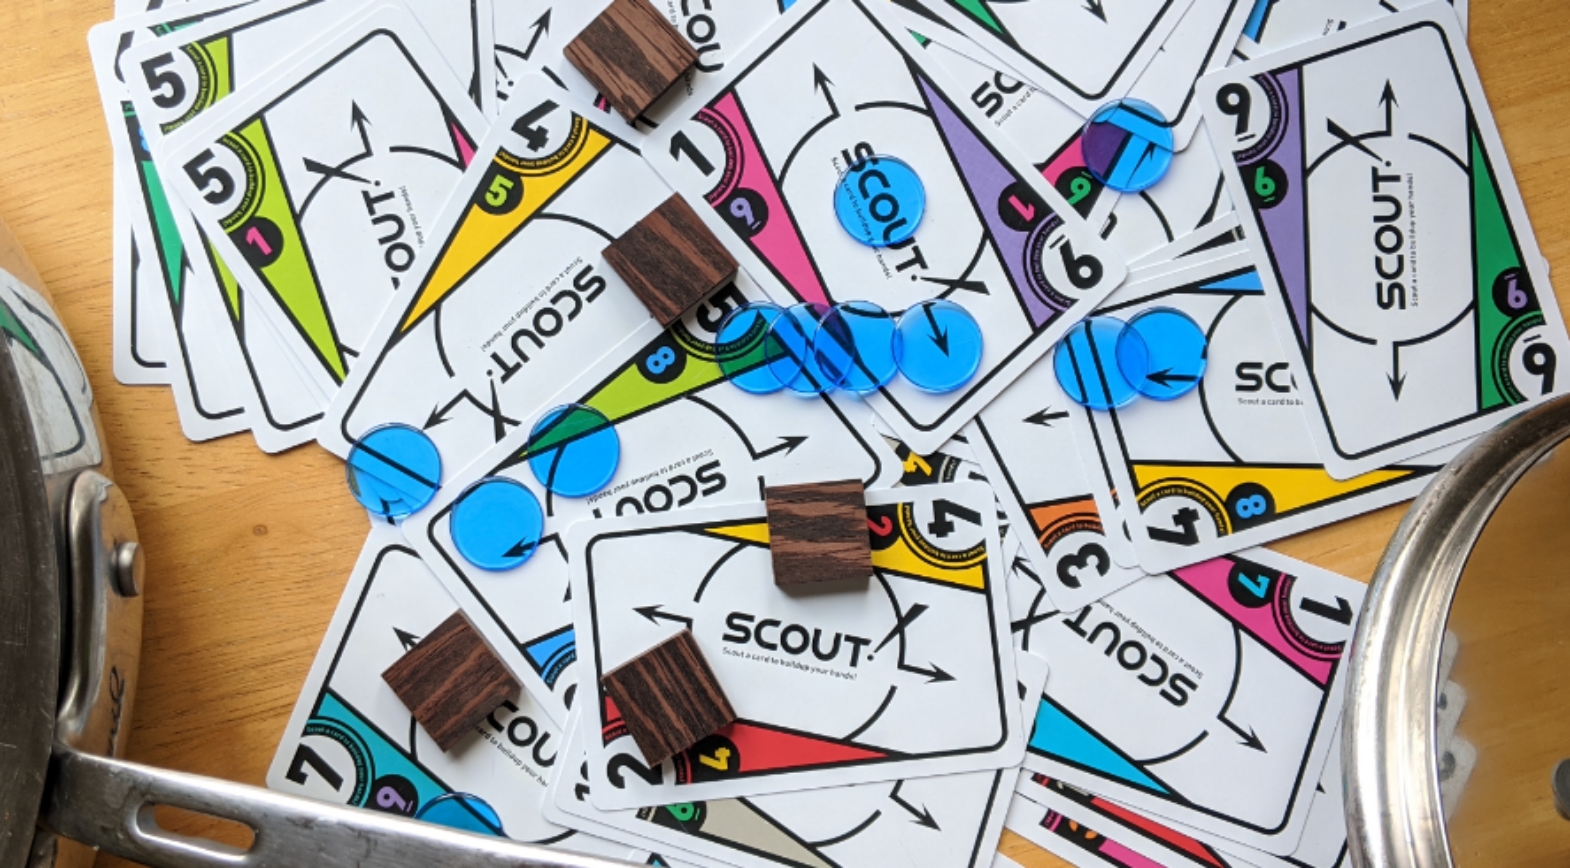
The Scout-and-Play Token: Save It for the Right Moment
Every player starts the round with one Scout-and-Play token. Used well, it’s a tempo multiplier. Used poorly, it’s wasted.
Don’t use it in the first half of the round. Early on, your hand is full and your options are flexible. The Scout-and-Play shines when your hand is depleted and a single perfect card would unlock your remaining sequence.
The ideal Scout-and-Play scenario: Your hand is down to four or five cards. The current challenge has a card that, if added to your hand, would create a run or set you can immediately play. Scouting that card and immediately playing the sequence empties your hand significantly and keeps the table under your control.
The wasteful Scout-and-Play scenario: You use it on turn three because you feel like you have a good opportunity. You scout a card that helps your hand somewhat, then play a small set. You’ve used your one token for marginal gain and left yourself without it for the crucial late-round moments.
Reading Your Opponent’s Hand
You can’t see your opponent’s cards, but you can infer their hand state:
Count how many cards they’ve played. If they’ve played 12 cards and started with 15, they have 3 left. A hand of 3 means they’re either close to finishing or in serious trouble.
Watch what they scout. If your opponent scouts from a large challenge rather than beats it, they may not have a valid play. This tells you their hand is thin or poorly composed for the current challenge.
Watch what they play. If they’ve played three runs this round, they probably have run-heavy cards. If they keep playing small sets of pairs, their hand may not have long sequences.
The finishing threat. When your opponent has two or three cards left, treat every turn as potentially their last. Your plays should either empty your hand or force them to Scout (adding cards back to their hand) rather than finish.
Forcing Penalty Chips
If you can force your opponent into a situation where they have neither a play nor a desired scout target, they take a penalty chip. Penalty chips cost one point each — in a close game, forcing two or three chips can swing the outcome.
To force penalty chips:
Put up a challenge that’s hard to beat but unappealing to scout from. A run of four consecutive numbers in a rare color is hard to beat. If the specific numbers in it don’t help anyone’s sequence, your opponent might rather take the chip than scout.
Keep the challenge high. After beating a challenge, consider the size of your play. A large challenge keeps the bar high. A small challenge is easy to beat and costs you little, but it doesn’t put pressure on your opponent.
The Final Cards: Who Finishes First
The player who empties their hand first wins the round’s finishing bonus and avoids the hand penalty. When you’re down to three or four cards:
Stop scouting entirely. You want to finish, not accumulate. Every card you scout delays the finish.
Play aggressively. If you have a play available, take it. Don’t wait for the “perfect” moment.
Watch for the opponent’s finish. If your opponent is also down to two or three cards, they might finish before you. Consider whether any of your remaining plays can force them to scout (adding a card back), giving you the extra turn you need.
The Score Behind the Score
Scout is ultimately a multi-round game. After several rounds, the cumulative picture matters. If you’re ahead by 8 points after round two and your opponent is known to play aggressively, you can afford to play more conservatively in round three — finishing with a moderate hand penalty might cost less than aggressive play would gain. Track the trajectory, not just the current round.